Home
About Us
Our Clients
Where We Work
Meet The Team
FAQs
Services
Brand Activations
Event Entertainment
Lapland Entertainers
Courses
Online Face Painting Courses
Face Painting Tutorials
Workshops
Online Face Painting Courses London
Gallery
News and Blog
Contact
Shop
Select Page
Face Painting Tips and Tricks
Beginners Face Painting Course
Youtube
Click Here
Follow us on Social Media
Follow
Follow
Follow
Follow
Follow
You May Like
Related products
Natalee Davies Gold Range | Split Cake – Fern
€
11.50
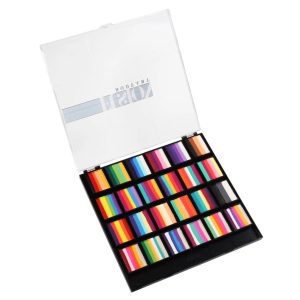
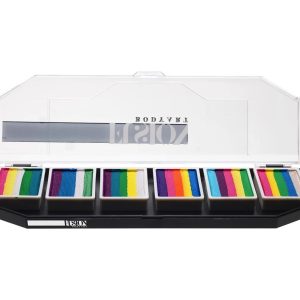
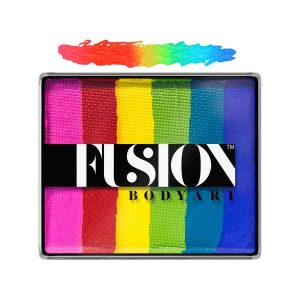
Fusion One Stroke Palette – Rainbow Paradise
€
79.00
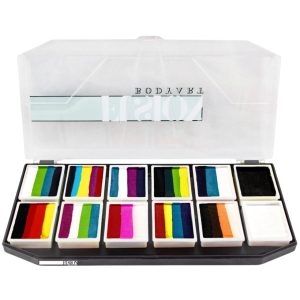
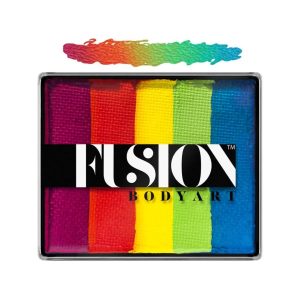
Fusion Face Painting Palette – Rainbow Explosion
€
39.50
Leanne’s Happy Pixie – Petal Palette
€
55.00
Fusion Face Painting Palette – Night Critters
€
34.00
Fusion Body Art Face Painting Split Cakes – LODIE UP Sweety Pink | 30g
€
12.45
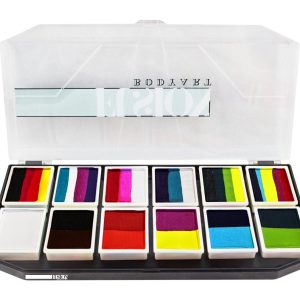
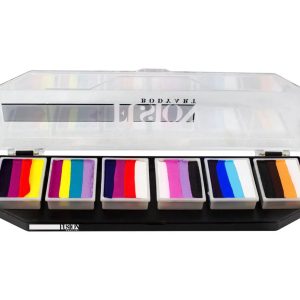
Fusion Face Painting Palette – Carnival Kit
€
39.50
Fusion Face Painting Palette – Mermaids & Unicorns
€
28.00
Fusion Thin Strokes | Candy Face Paint Palette
€
38.50
Fusion Body Art Face Painting Rainbow Cakes – Rainbow Joy | 50g
€
12.45
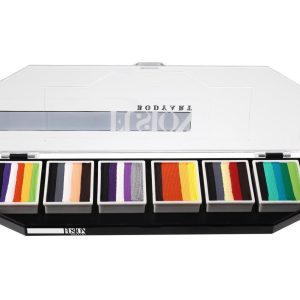
Fusion Face Painting Palette – Rainbow Splash
€
28.00
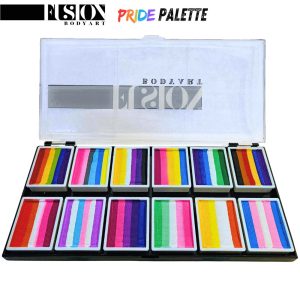
Fusion Face Painting Palette | PRIDE
€
38.50
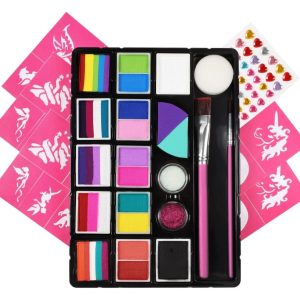
Professional Face Painting Starter Kit – Pink
€
230.00
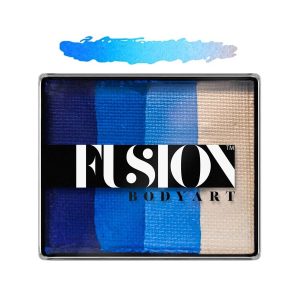
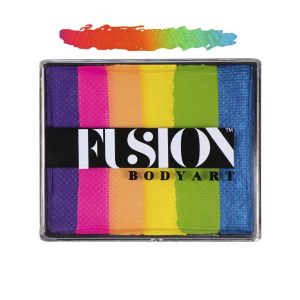
Fusion Body Art Face Painting Rainbow Cakes – Bright Rainbow | 50g
€
12.45
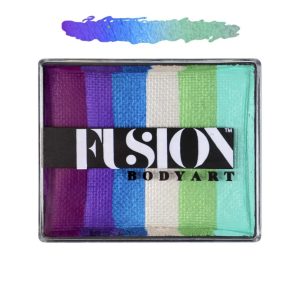
Fusion Body Art Face Painting Rainbow Cakes – Mermaid Dreams | 50g
€
12.45
Fusion Body Art Face Painting Rainbow Cakes – Frozen Shimmer | 50g
€
12.45
Fusion Body Art | Unicorn & Fairy Face Painting Kit
€
33.00
Fusion Body Art Face Painting Rainbow Cakes – Unicorn Party | 50g
€
12.45
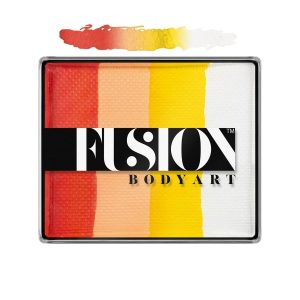
Fusion Body Art Face Painting Rainbow Cakes – Glowing Tiger | 50g
€
12.45
Follow us on Social Media @instagram @Tiktok
[instagram-feed]
Newsletter
Signup for news and special offers!
Subscribe
Loading...
Subscribe
Loading...
Thank you!
You have successfully joined our subscriber list.
0 items
My Cart
You have 0 items in your cart